How Can We Help?
Even if you primarily use Outlook on the Desktop, I find this is the simplest, clearest way to add a shared folder. Folders added this way will also appear in Outlook Desktop after you restart.
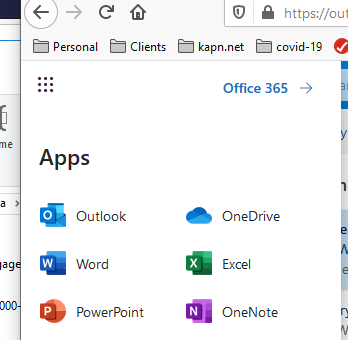
Log in to your Office 365 account at office.com. Choose the Outlook app, and look at the sidebar at left.
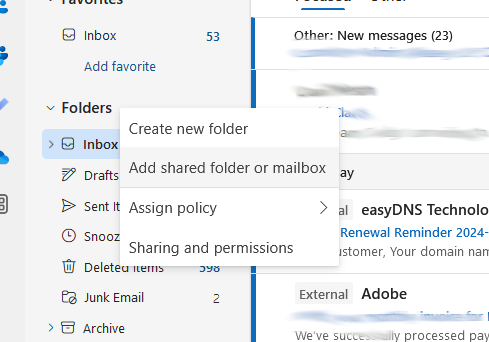
You need to right-click on the place in the sidebar that says “Folders” and then choose “Add shared folder”.
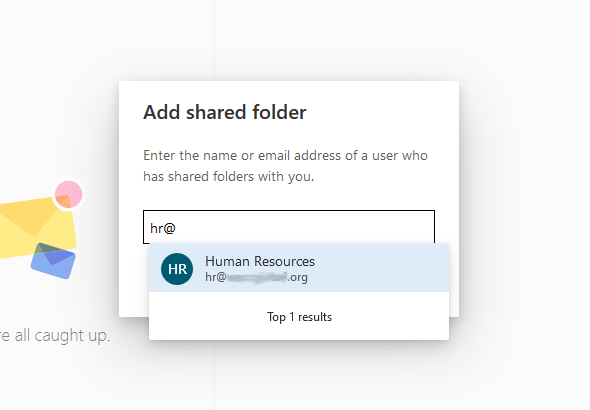
You will then be asked to enter the email address of the shared folder. Start to type it in the box and after 3 characters or so, options should begin to pop up.
NOTE: You may see other accounts here. These are other users and folders in your organization. You should not assume that you have access to accounts you see. You may even discover you can add them to your sidebar. However, you only actually have access to the content of accounts you have been granted permission to access.
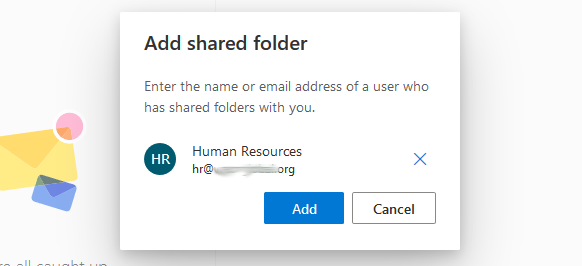
Choose the correct account from the list and click “Add”:
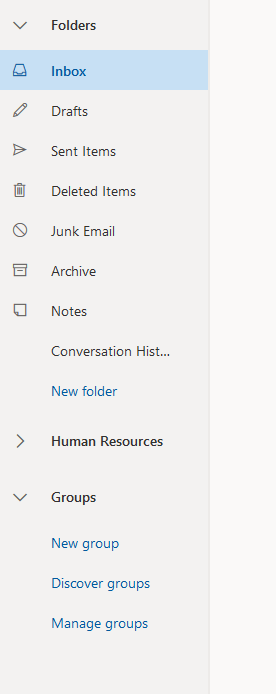
Once the folder is added, it will be visible in your left-hand sidebar. If you can’t open it, then there is likely a permissions problem and you will need to contact either the folder owner or the site administrator to check your permissions.
It can take a few hours sometimes for permissions to propagate through the entire Office365 environment, so if the permissions were only just changed, be patient. However, if it’s a day later and you don’t have access, then something is wrong.
Be aware that you have to actually open the account with the arrow icon and click on “Inbox” to see messages. Merely clicking on the name will not show you the contents.