How Can We Help?
Note: This was done mostly on a Mac so small details may be in slightly different locations or have a slightly different appearance.
Joining Via Link
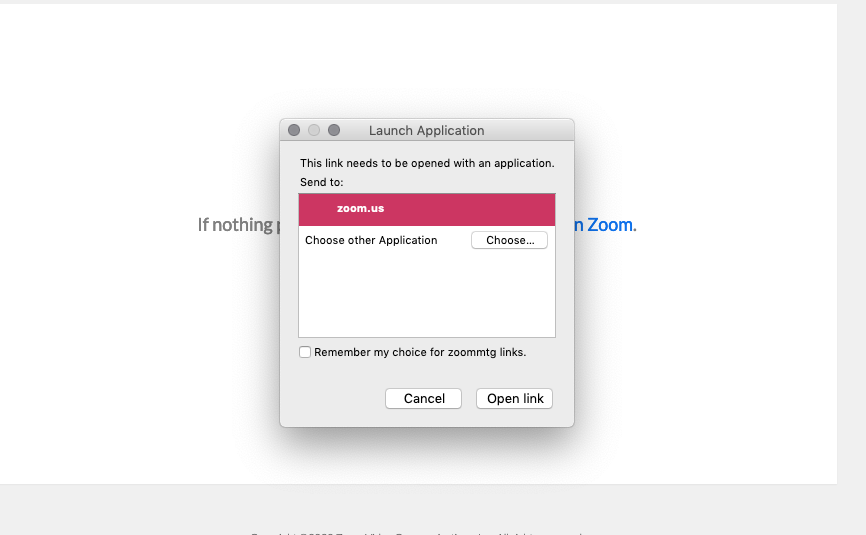
- If you join by clicking a link in an email, you may see something like this. You may not get a popup, you may just see this screen and then zoom will open.
If you have Firefox you’ll get this popup and will click “Open Link”
- You may then be prompted to join the meeting. Click “Join with Video”. Note: You can choose do this step automatically next time by unticking the box below the video.
- You’ll either join the meeting immediately or be placed in a Waiting Room. If you’re put in a Waiting Room you will see a message something like
“Please wait, the meeting host will let you in soon.”

Computer Audio
- Once you’re in the call (after the waiting room, if any) you’ll see this screen. It may have a pop-up as well.
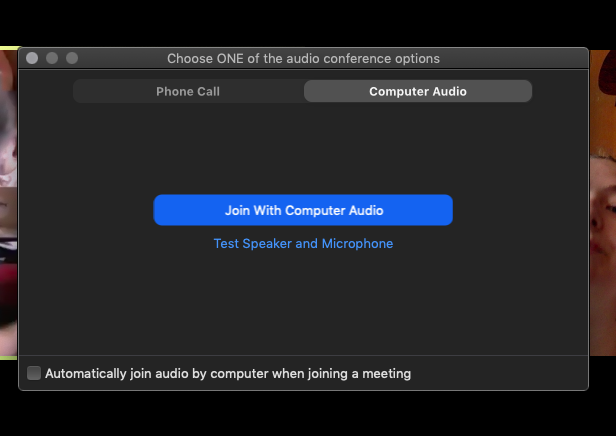
- If you see this pop-up you’ll choose “Join With Computer Audio”. If this is your second or third meeting and you know your computer audio works you’ll want to tick the “Automatically join audio by computer when joining a meeting”

- If you don’t see this popup you’ll need to turn on your audio by clicking the microphone button. It will trigger the above popup. It may or may not have the little speech bubble above it.
Toolbar in the Meeting
- To see the menu bar you’ll need to move your mouse. It disappears when your mouse is still in order to allow you to better see the call.

You can make the menu bar available permanently if you like.
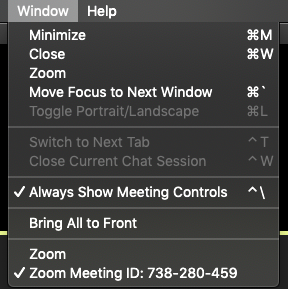
MAC – Go to the menu bar at the top and click the “Window” option to get a drop-down menu. Look next to “Always Show Meeting Controls” line if there is no checkmark click it to keep the toolbar visible. If there is a checkmark it is already enabled and the toolbar will stay visible.

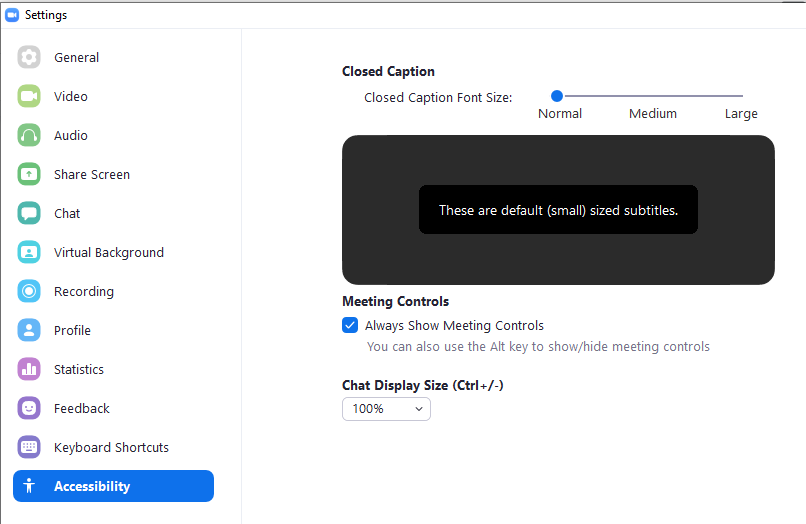
WINDOWS – Click on your account icon in the top right of the Zoom app and choose “Settings”.
In the Settings panel that opens, choose the “Accessibility” page (on left side).
In the resulting panel, choose “Always show meeting controls”.
The tools on the toolbar going from left to right are as follows.
Mute/Unmute – mute or unmute your microphone
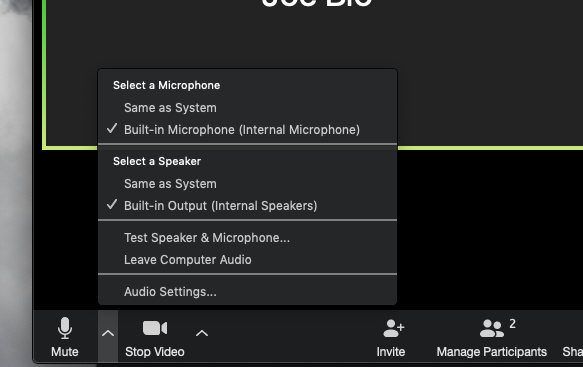
Up arrow beside Mute/Unmute – lets you choose which microphone and speaker you will use as well as run tests for yourself.
You can also access more advanced audio settings (See appendix).
Start/Stop Video – start and stop your video broadcast to others.
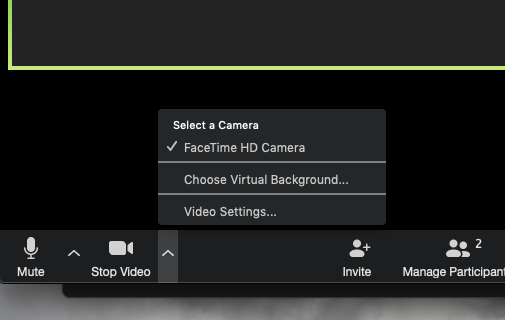
Up arrow beside Video – lets you choose which camera you are using and use virtual backgrounds.
You can also access more advanced video settings.
Invite – Invite others to the meeting
Participants – see a list (and manage, if host) other meeting participants
Share Screen – share your screen or a window on your computer (may be disabled by host)
Chat – text chat with other meeting participants
Record – record the meeting (may be disabled by host or account type)
Reactions – give a non-verbal reaction like a thumbs up to something that happened.
Leave Meeting – Leave the meeting. You need to do this to actually leave. Just quitting Zoom will leave a “zombie” version of you in the meeting.