How Can We Help?
If this is happening regularly, we need to troubleshoot, but sometimes these things drop for no clear reason and then are fine again after being re-established. This article is really a brief take for my own clients. You’ll find much more complete information on net use elsewhere on the Internet.
An easy first try
The first thing to do is to go to “This PC”. You’ll see a link in the sidebar of File Explorer:

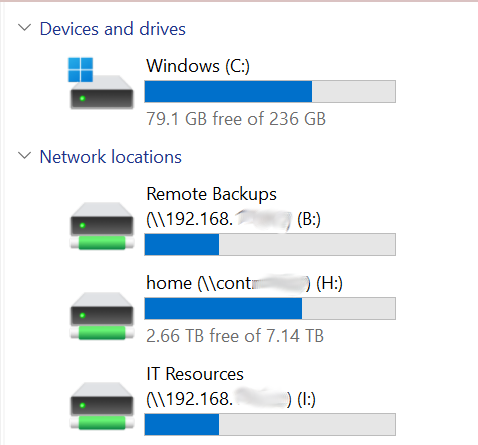
On the “This PC” page, you should see your mapped drive(s) listed under “Network locations”. However, since you’re reading this, I assume they’re either broken or missing. If the mapped drive is visible but broken, let’s try to re-connect first. Double-click on the broken drive map. If you are prompted for a username and password, go ahead and give it a try. If you get any message other than a login prompt, move on to the next step. If you get a login prompt, but it doesn’t work, then you can try the next step, but it may be your login that’s an issue and you’ll need to talk to your network administrator (presumably me) to resolve it.
A more complex, but more certain approach
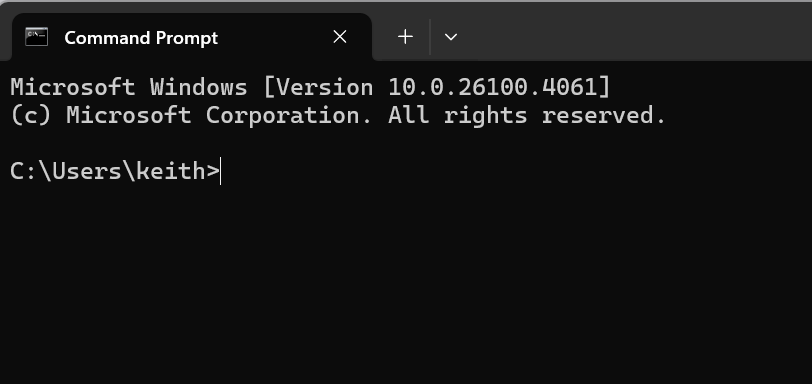
Open a Windows command line prompt (type “cmd” in the Windows search bar):
Type “net use” into the command prompt that opens. You’ll either get a list of network resources or a message that there are none but that “new connections will be remembered:
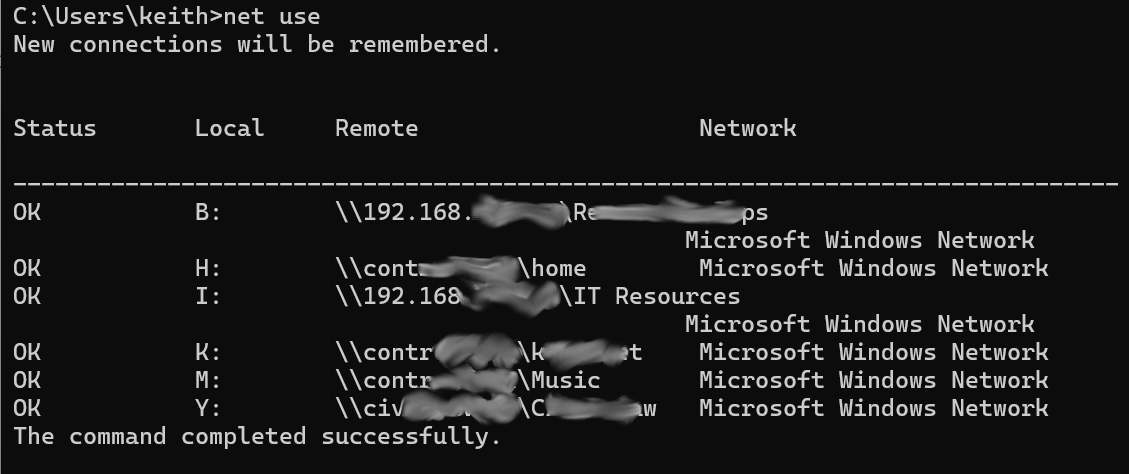
If you see your drive mount there, but failed to reconnect in the previous step, let’s delete it first. Change “h:” for whatever the relevant drive letter is for you:
net use /del h:Now if you run net use again, it should be missing from the list. Repeat for any other drive you need to re-mount. if there is an entry ending in IPC$ with a server path that matches your bad mount, you will probably want to delete that too:
net use \\servername\IPC$ /delYou’re now ready to try to remount. You’ll want to use the following full command, especially if using the graphical login failed in the first step at the top of this article. You will, of course, need to change most parts of this command to match you mount information and your username. You will be prompted for your password after you run the command. If you prefer, you may add your password at the end of this command so you can see it clearly and to avoid a second step.
net use y: "\\servername\Mount Name" /user:uname@server.localIf you’re getting into more errors, then I guess it’s time to give me a call.